Studio Editor
Masterclass
A comprehensive reference manual for every single tool and feature within the Sprite O'Matic Studio Editor workspace. Arranged in the exact order you should use them during a professional asset cleanup workflow.
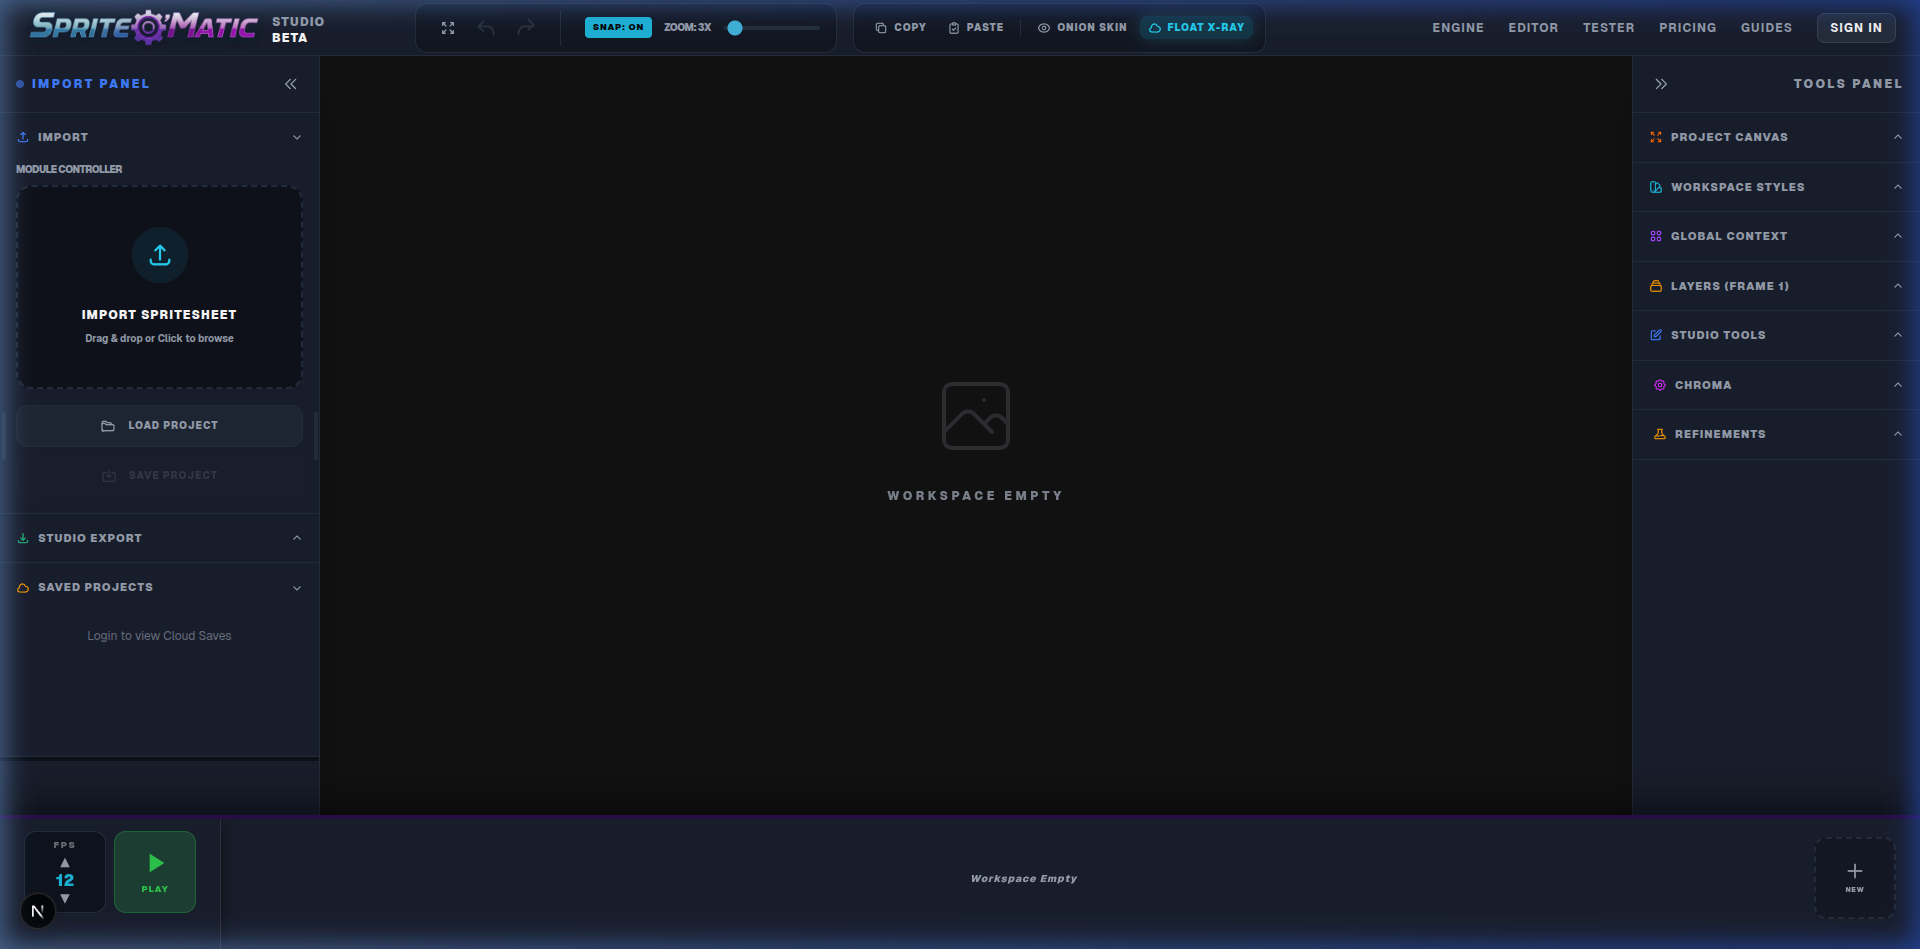
Environment & Canvas Setup
Before touching a single pixel, you must format your digital workspace.
Project Size
Located at the top of the Left Toolbar. Use the quick-snap buttons (16x16, 32x32, 64x64) to conform your grid to standard retro asset packs, or enter custom dimensions.
Workspace Styles
Toggle the checkerboard grid to verify alpha transparency. You can constrain the grid to wrap around your specific localized sprite, or span the entire infinite workspace background.
Global Context & Layers
The Studio supports infinite independent "Scene Entities" (Sprites). Select an entity under Global Context to edit it. Inside that entity, use the Layers panel to stack clothing, weapons, or UI elements on top of the base frame securely without destroying the pixels underneath.
Selection & Masking (Boundary Tools)
The first step of refining a sprite is isolating the parts you want to modify. By defining a mask, all paint and erase actions are locked strictly inside that boundary.
Marquee
Click and drag to select a perfect rectangle. Essential for cutting out tiled floor blocks or UI elements.
Free-hand Lasso
Draw an organic shape around a character's arm or head to isolate it for precise color filling.
Stencil Lasso
A specialised magic lasso. Draw a loose circle around an object, and the algorithm will intelligently tighten the mask to the non-transparent pixels inside your circle, creating a precise tight stencil contour.
Magic Wand
Click to automatically select contiguous regions of identical color. Great for selecting a character's solid-color shirt instantly.
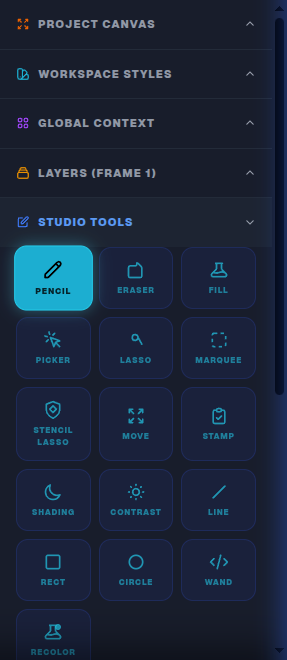
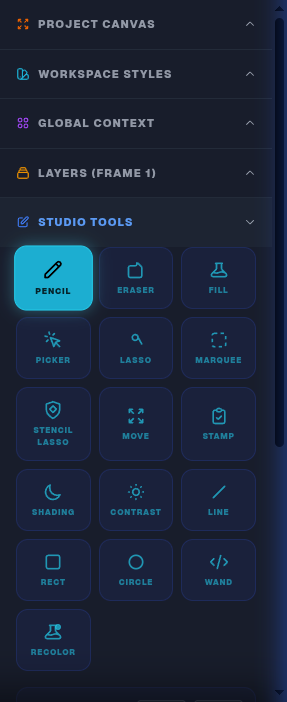
Drafting (The Pixel Tools)
Once masked, use these structural tools to lay down new pixels and geometry.
Pencil
The core, aliased hard-edge painting engine. Adjust opacity and thickness in the sidebar.
Fill Bucket
Dumps your active Chroma color into any completely connected pixel group recursively.
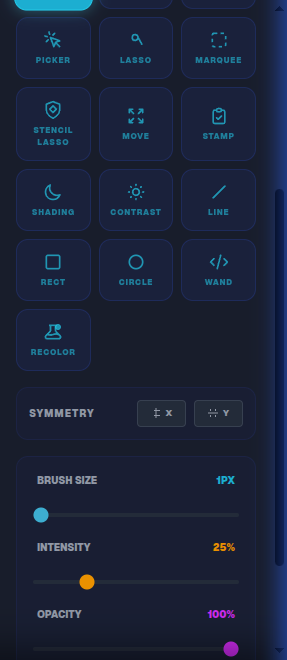
Geometry Generators
Click and drag to manifest mathematically perfect pixelated shapes without needing manual anti-aliasing math.
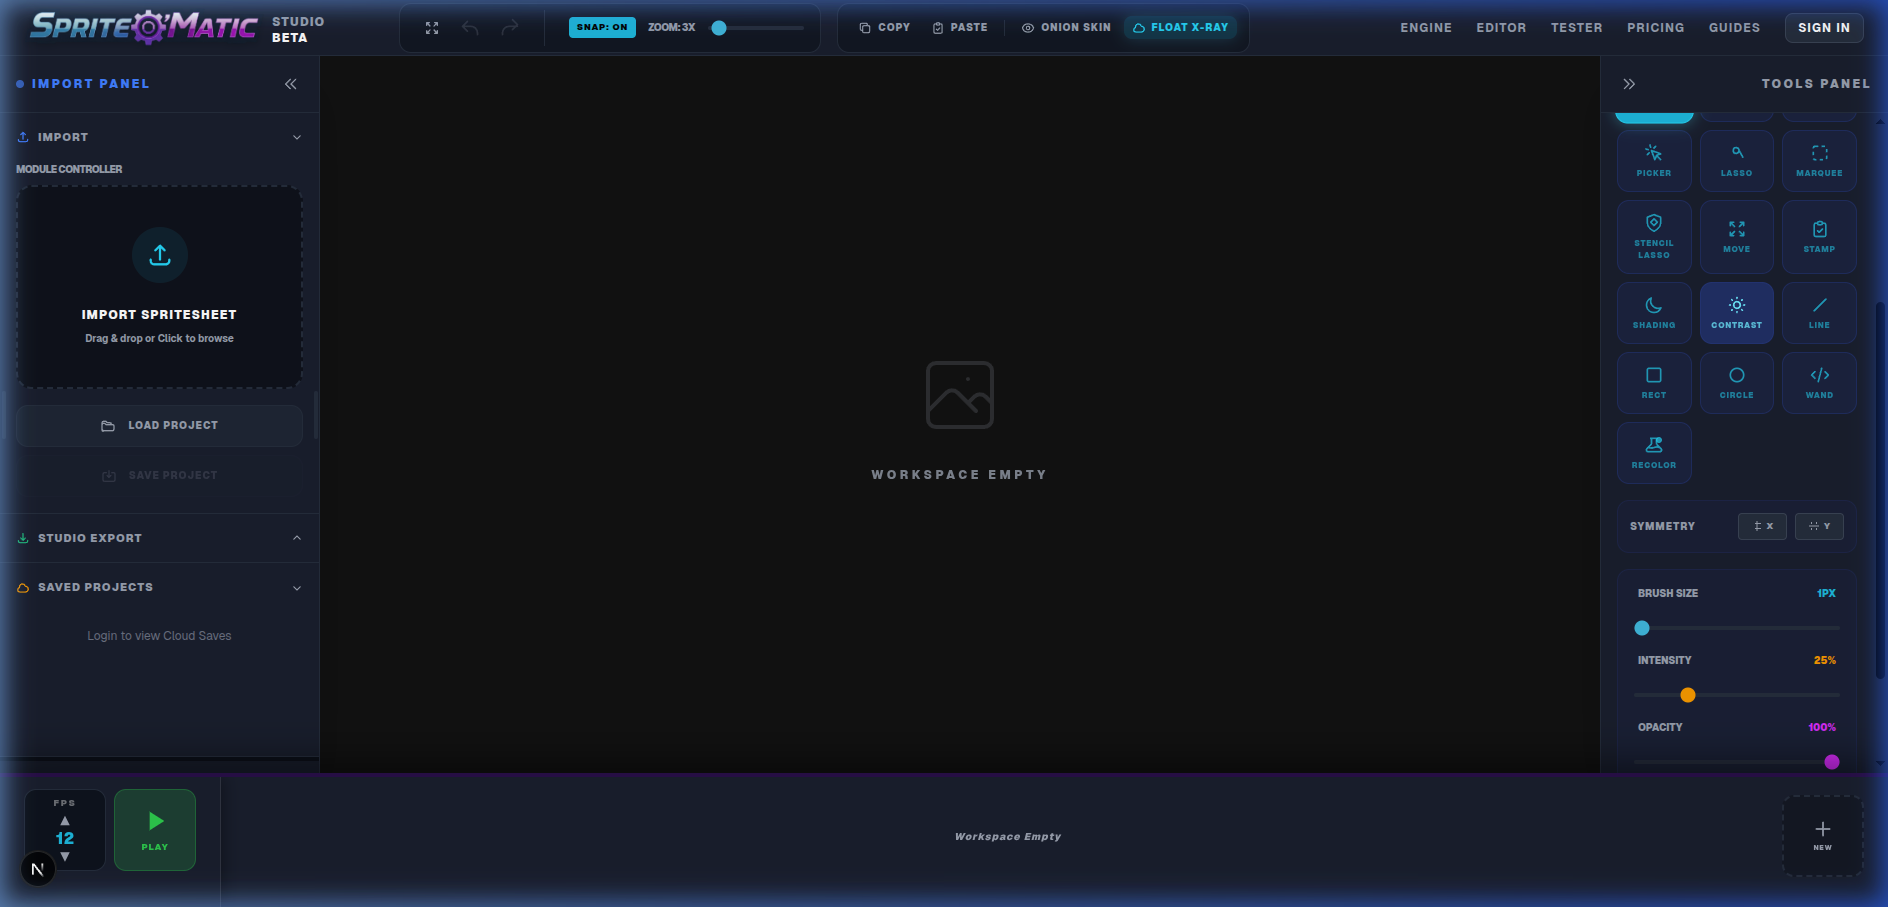
Shading & Texture Modifiers
Once the structure is built, these tools modify existing pixels without altering their structural layout.
Shading Tool
Scrubbing this tool over flat color blocks will recursively sample their HEX values and reduce their luminance, allowing you to hand-paint shadows without picking a new color.
Contrast Tool
Increases the variance between neighboring pixels. Highly useful when trying to salvage muddy details baked heavily by AI generation models.
Targeted Recolor Brush
Instead of globally swapping colors, select your new target Chroma color, and paint over the canvas. It will only alter pixels that match the pixel your cursor originally struck when dragging began.
Timeline Frame Matrix
The bottom filmstrip powers all temporal animation mechanics and frame-to-frame manipulation.
Re-Ordering & Multi-Select
Instead of copying/pasting just to move a frame, you can click and drag any frame thumbnail horizontally to instantly re-arrange its position in the timeline playback order.
Hold CTRL/CMD and click multiple frames to select a batch of them for bulk copy/paste operations.
Playback Controls
Located on the far left of the timeline. Adjust your global simulation FPS and use the Play button to permanently preview your animation logic while drawing. (The background of the active frame will pulse green).
Timeline Context Menu
Right-clicking any frame in the filmstrip opens the advanced temporal operations menu (Copy Frame, Delete Frame, Paste Overwrite). Here are the two most powerful specialized functions:
If you copy a cluster of 5 frames and click normal paste, they will append 1-2-3-4-5. "Ping-Pong" pastes them backwards (5-4-3-2-1). This is the absolute fastest mechanical way to create seamless looping breathing, pulsing, or glowing animations.
If you use the Lasso to copy an object on the canvas into memory, right-clicking the timeline allows you to Paste Pixels To All. That copied object will stamp itself onto every single frame in your active animation at the exact identical coordinates. Crucial for pasting a floating UI bar above your character.
Composition & Global Refinements
The Move Tool
Using the Move tool translates the entirety of the Active Layer inside the canvas boundary. If you have an active selection mask established first, only the isolated pixels will be shifted.
Cut, Copy & Stamp Placements
Draw a lasso around an object and hit CTRL/CMD + C. The object is removed into memory. Select the Stamp Tool, and single-click anywhere on the canvas to clone/paste that cut-out directly onto the grid instantly!
Global Refinements Panel
Located in the right sidebar under the "Refinements" accordion. Once your illustration is functionally complete, use these massive cross-frame algorithms to correct color mistakes across your entire animation sequence simultaneously.
Use the eyedroppers to select a Source and Target color. Click "Apply to All" to instantly swap every instance of that color across every frame in your sprite sequence memory.
Target a specific color artifact (e.g. leftover solid green AI screen) and instantly zero it out into alpha transparency.
The most powerful cleanup tool. Target green pixels, and the algorithm will intelligently remove halo artifacts from the outer edge of your subject without affecting any green pixels safely contained inside the body of your character.